The topic I chose to digitalize for this inquiry post is 3D art… eek!
But What Is 3D Art?
Three dimensional (3D) art is art that has height, width, and depth, and unlike 2D art it can be viewed from all angles.
Purpose in
Education?
Use of 3D art for teaching?
Teachers can use three dimensional images to better portray the concept and allows for better visualization and engagement.
Use of 3D art for students?
Creating 3D art will facilitate students to look at an object more closely; having to observe from all angles an developing a deeper understanding of their subject.
Digital 3D art can also be turned into 3D printing, allowing a unique opportunity to see concepts and ideas come to life in a physical form.
What is 3D Art? Definition, Examples & Meaning – Eden Gallery

My Process
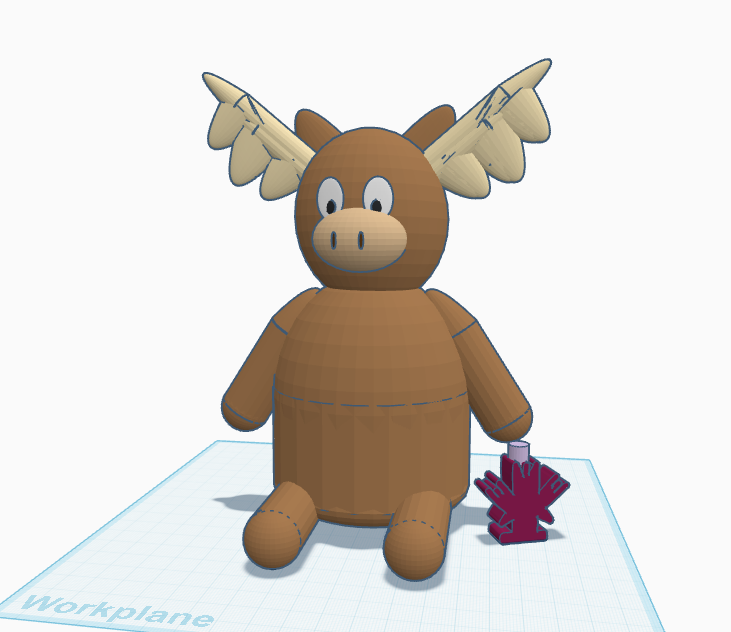
Magnificent Moose
Elaborating from the last inquiry post, Inquiry 8, with the ‘Moose the Beaver’ animation I created, I continued on the trail of characterization. From this came the ‘Magnificent Moose’ which honors my brother’s wish (threat) to draw a moose. Why a moose? Well, you’re going to have to ask my brother that!
Steps I took:
Programs
What can I use to easily create a 3D image?
I found it tricky to find a program that I did not have to extensively learn before using, have confusing controls, or needing to download. I was going to use Blender, but would have to download. So, thinking back to 3D printing in high school I used Tinkercad.
3D Art
Can I create a three dimensional piece?
Using Tinkercad I created the moose by first starting with a oblong sphere. Then I added various other shapes to flush out the body. Then created the legs which I grouped and duplicated to use all over, including arms and antlers. I did struggle with getting the eyes and nose to lay flat.
Present
How can I show my work to see the whole picture?
After completing the Moose, I had to figure out a way to share it. I wanted to use an interactive view, however, I could not figure out how as Tinkercad does not come with that. To combat this I used the stop motion style and took photos all the way around the moose.
Stop Motion:
I think this was a great option for the time I had and for a range of skill levels. I do wish I was able to draw onto the moose to add more detail, but that could be done with more time and a different program. So here is a little bit of drawing to compensate.

Sorry, but comments are not enabled on this site.